
Preheat Your Oven to Perfection
Ah, the sweet aroma of a freshly baked apple pie wafting through the air…it’s enough to make anyone’s mouth water. But before you can dive into that delicious treat, you need to make sure your oven is preheated to perfection.
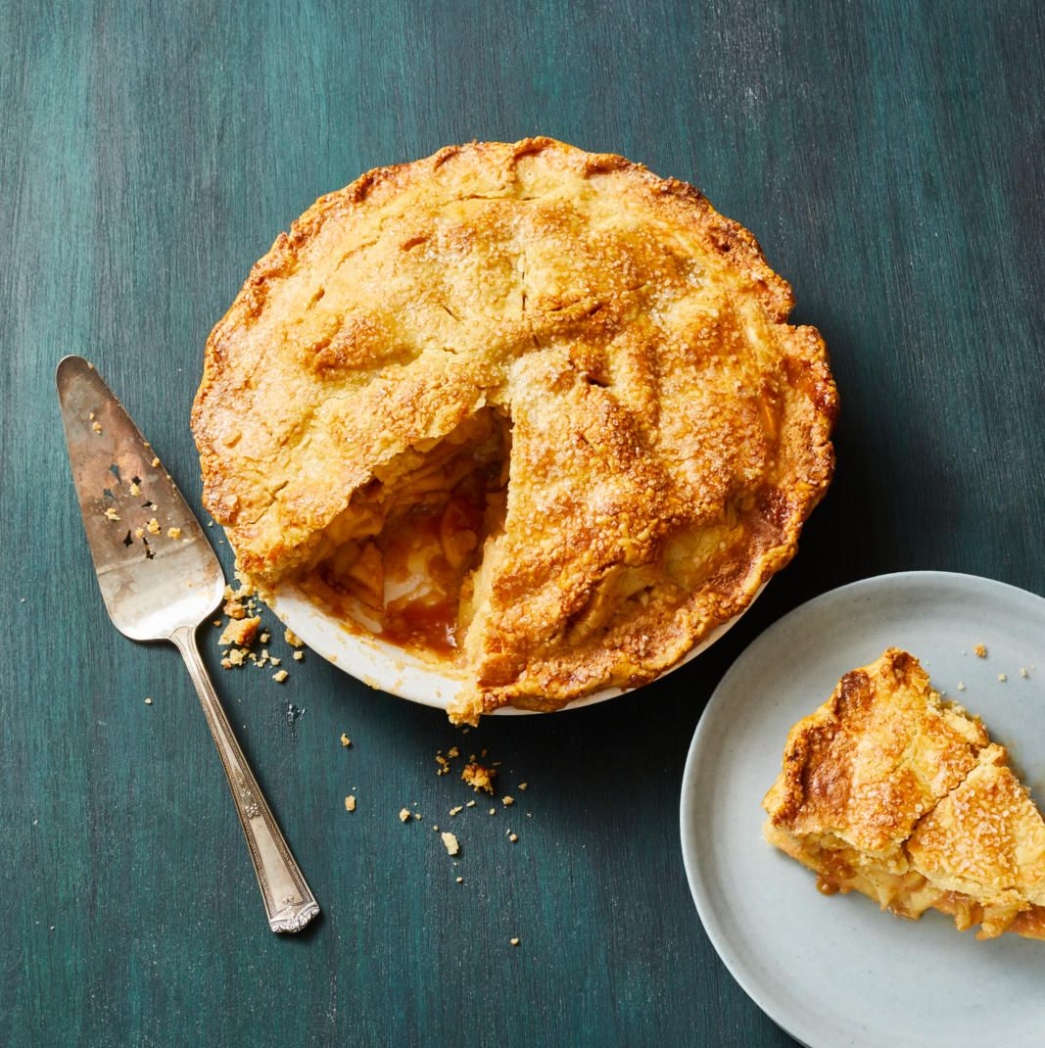
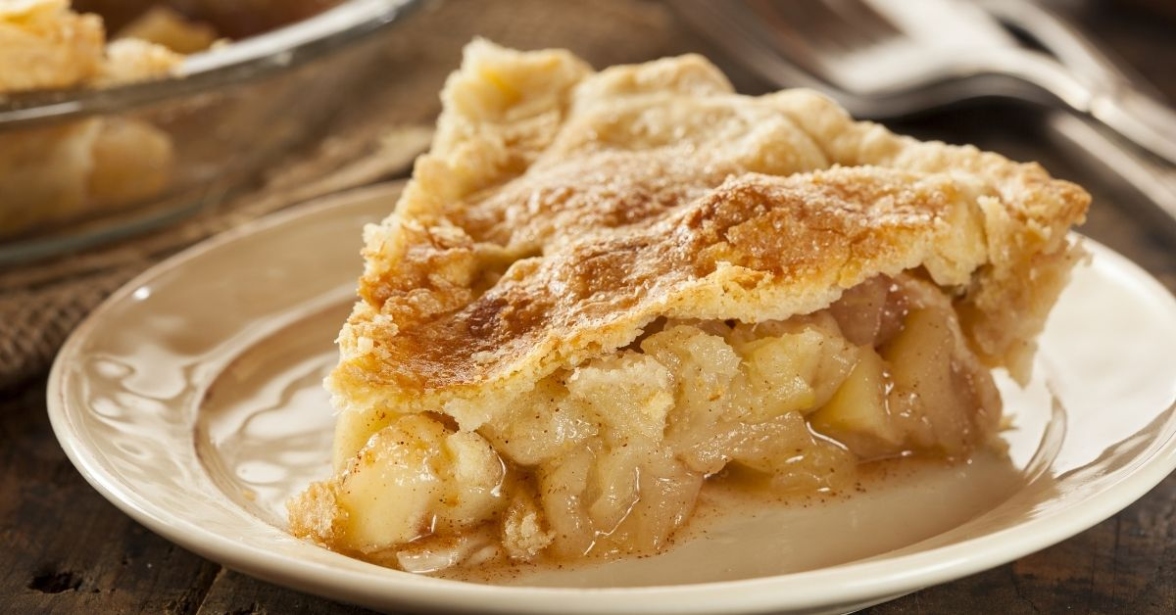
Image Source: insanelygoodrecipes.com
Preheating your oven may seem like a simple task, but it is a crucial step in ensuring that your apple pie bakes evenly and comes out just right. The last thing you want is for your pie to be undercooked in the middle or burnt on the edges. So, follow these simple steps to preheat your oven like a pro.
First, check your Recipes-ideas/’>Recipe for the recommended temperature. Most apple pie recipes call for a preheated oven set to 375 degrees Fahrenheit, but it’s always best to double-check. Once you have the correct temperature, turn your oven on and set it to the desired heat.
Image Source: hearstapps.com
Next, give your oven some time to preheat. It’s important to allow your oven to reach the specified temperature before placing your pie inside. This usually takes about 10-15 minutes, depending on your oven. You can use this time to prepare your flaky, buttery crust or fill your pie with sweet, spiced apples.
While you’re waiting, take a moment to enjoy the anticipation of what’s to come. Imagine the warm, bubbling filling of your apple pie mingling with the flaky crust, creating a dessert that is both comforting and indulgent. The scent of cinnamon and nutmeg will soon fill your kitchen, promising a treat that is sure to delight your taste buds.
Once your oven reaches the desired temperature, it’s time to place your apple pie inside. Be sure to use oven mitts to protect your hands from the heat, and place the pie on the center rack for even baking. Close the oven door gently to avoid any sudden temperature changes that could affect the outcome of your pie.
Now, all that’s left to do is wait. As your apple pie bakes, the smell of warm apples and spices will continue to fill your Home, creating a cozy and inviting atmosphere. Before you know it, your pie will be golden brown and irresistibly aromatic, ready to be enjoyed by friends and family alike.
So, the next time you’re in the mood for a deliciously warm apple pie, remember to preheat your oven to perfection. By taking the time to preheat your oven correctly, you can ensure that your pie bakes evenly and comes out just right. And when that first bite of warm, flaky crust and sweet, spiced apples melts in your mouth, you’ll be glad you took the time to do it right.
Prepare Your Flaky, Buttery Crust
When it comes to making the perfect apple pie, one of the most important steps is preparing a flaky, buttery crust. The crust is not only the foundation of your pie, but it also adds a delicious texture and flavor that complements the sweet, spiced apples filling.
To begin, gather your ingredients for the crust. You will need all-purpose flour, cold butter, salt, sugar, and ice water. The key to a flaky crust is to keep your ingredients as cold as possible, so make sure your butter is straight from the fridge and your ice water is chilled.
Start by measuring out your flour into a large mixing bowl. Add a pinch of salt and a tablespoon of sugar for a touch of sweetness. Cut your cold butter into small cubes and add them to the flour mixture. Using a pastry cutter or your fingers, work the butter into the flour until it resembles coarse crumbs.
Once the butter is incorporated, slowly add in the ice water, one tablespoon at a time. Mix the dough gently with a fork until it just comes together. Be careful not to overwork the dough, as this can result in a tough crust.
Next, turn the dough out onto a floured surface and gently knead it a few times to bring it together. Divide the dough in half, shape each half into a disk, and wrap them in plastic wrap. Chill the dough in the refrigerator for at least 30 minutes to allow the butter to firm up again.
After the dough has chilled, remove one disk from the refrigerator and roll it out on a floured surface. Roll the dough into a circle that is about 12 inches in diameter, making sure to turn the dough frequently to prevent sticking. Carefully transfer the rolled out dough to a pie dish, pressing it gently into the bottom and sides.
Once the bottom crust is in place, it’s time to fill your pie with the sweet, spiced apples. Spoon the apple filling into the crust, spreading it out evenly. Take care not to overfill the pie, as the apples will shrink as they bake.
After filling the pie, roll out the second disk of dough and place it on top of the pie. You can leave it whole for a traditional double crust pie, or cut it into strips for a lattice crust. Crimp the edges of the crust together to seal the pie.
Before baking, you can brush the top crust with an egg wash for a golden finish, or sprinkle it with sugar for a bit of extra sweetness. Cut a few slits in the top crust to allow steam to escape during baking.
Once your pie is assembled, bake it in a preheated oven until the crust is golden brown and the filling is bubbling. The aroma of warm, spiced apples and buttery crust will fill your kitchen and have your mouth watering in anticipation of that first delicious bite.
Preparing a flaky, buttery crust for your apple pie may take a bit of time and effort, but the end result is well worth it. The perfect combination of crisp, golden crust and sweet, spiced apples will have you coming back for slice after slice. So roll up your sleeves, gather your ingredients, and get ready to bake up a deliciously warm apple pie that is sure to impress your friends and family.
Fill Your Pie with Sweet, Spiced Apples
There’s nothing quite like the aroma of a freshly baked apple pie wafting through the kitchen. The sweet, cinnamon-spiced filling nestled inside a flaky, buttery crust is the epitome of comfort food. In this step-by-step guide, we’ll delve into the art of creating the perfect apple pie filling that will have your taste buds singing with delight.
To start, you’ll need a selection of your favorite apples. While any variety will work, some of the best choices for apple pie include Granny Smith for their tartness, Honeycrisp for their sweetness, and Jonagold for their balanced flavor. Feel free to mix and match different types of apples to create a unique blend of flavors and textures in your pie.
Once you’ve selected your apples, it’s time to peel, core, and slice them. The key to a successful apple pie filling is to ensure that the slices are uniform in size so that they cook evenly. You can cut them into thin slices for a softer filling, or thicker slices for a chunkier texture – it all comes down to personal preference.
Next, it’s time to add the perfect combination of spices to your apple slices. Cinnamon is a classic choice, adding warmth and depth to the filling. Nutmeg and allspice can also be added for a more complex flavor profile. Don’t forget a pinch of salt to enhance the sweetness of the apples.
To sweeten the filling, you can use a combination of white and brown sugar. White sugar will help to retain the bright flavor of the apples, while brown sugar adds a rich caramel note. For an extra kick, you can also add a splash of vanilla extract or a squeeze of lemon juice to brighten the flavors.
Once you’ve mixed your apples with the spices and sugars, it’s time to let them macerate. This step allows the flavors to meld together and the apples to release their juices, creating a luscious filling. You can let the mixture sit for as little as 30 minutes or up to overnight in the refrigerator for a more intense flavor.
When it’s time to assemble your pie, make sure to mound the filling high in the center of the crust. This will ensure that the apples cook down evenly and create a beautiful dome shape. Don’t worry if it looks like there’s too much filling – the apples will shrink as they bake, so a generous mound is necessary.
For an extra touch of indulgence, you can dot the top of the filling with small pieces of cold butter before placing the top crust on. This will create a rich, buttery sauce that will coat the apples as they bake, adding an extra layer of flavor and richness to your pie.
Once your apple pie is assembled, it’s time to bake it until the crust is golden brown and the filling is bubbling and fragrant. The aromas of cinnamon, sugar, and apples will fill your kitchen, creating a warm and inviting atmosphere that is perfect for any occasion.
So, the next time you’re craving a deliciously warm apple pie, be sure to follow these steps to create a filling that is bursting with sweet, spiced goodness. Your taste buds will thank you for the effort, and your family and friends will be clamoring for more of your delectable creations.
Bake Until Golden Brown and Irresistibly Aromatic
As you eagerly anticipate the moment when your apple pie emerges from the oven, the scent of cinnamon and apples wafting through your kitchen, you can almost taste the warm, flaky crust and sweet, spiced filling. Baking your pie until it reaches the perfect golden brown hue is the final step in creating a deliciously warm dessert that is sure to be a hit with friends and family.
The key to achieving that irresistible golden brown color on your apple pie is to bake it at the right temperature for the right amount of time. This will ensure that your crust is perfectly crisp and your filling is cooked to perfection. Here are a few tips to help you achieve that golden brown finish on your apple pie:
1. Monitor Your Oven Temperature: Before placing your pie in the oven, make sure it has been preheated to the correct temperature. This will ensure that your pie bakes evenly and that the crust doesn’t burn before the filling is cooked through. Use an oven thermometer to double-check the temperature and make any necessary adjustments.
2. Keep an Eye on Your Pie: As your pie bakes, keep a close eye on it to make sure it doesn’t overcook. You want the crust to turn a beautiful golden brown, but you don’t want it to burn. If you notice that the edges of the crust are browning too quickly, you can cover them with foil to prevent them from getting too dark.
3. Use an Egg Wash: To help your pie achieve that perfect golden brown finish, consider brushing the top crust with an egg wash before baking. This will give your pie a shiny, golden appearance that is sure to impress. Simply beat an egg with a little water or milk and brush it onto the crust before placing it in the oven.
4. Test for Doneness: To make sure your pie is fully baked, you can insert a knife or toothpick into the center of the pie. If it comes out clean, the filling is cooked through, and your pie is ready to come out of the oven. If the filling is still a little runny, continue baking for a few more minutes until it sets.
5. Let It Cool: Once your pie is a beautiful golden brown and irresistibly aromatic, resist the temptation to cut into it right away. Allow your pie to cool for at least 30 minutes before serving. This will give the filling a chance to set and will make slicing and serving much easier.
Baking your apple pie until it reaches that perfect golden brown color is the final step in creating a warm and comforting dessert that is sure to be a crowd-pleaser. By following these tips and keeping a close eye on your pie as it bakes, you can achieve a beautifully browned crust and a deliciously aromatic filling that will have everyone coming back for seconds. Enjoy the process of baking your pie and savor the delicious results!
how to heat apple pie


